Pruning Olive Trees: A Step-by-Step Guide
Aug 10, 2024
Pruning Olive Trees: A Step-by-Step Guide
Olive trees are not only a symbol of peace and prosperity but also a source of one of the world’s most revered fruits—the olive. These trees, with their gnarled trunks and silvery leaves, have been cultivated for thousands of years across the Mediterranean and other warm regions. To ensure that olive trees remain healthy and productive, proper pruning is essential. In this guide, I’ll walk you through the process of pruning olive trees, offering professional advice to help you maintain these magnificent plants and optimize their fruit yield.
Understanding the Importance of Pruning
Pruning is a vital horticultural practice that involves the selective removal of certain parts of a tree, such as branches, buds, or roots. For olive trees, pruning serves several key purposes:
- Enhancing Fruit Production: By controlling the growth of the tree, pruning helps to channel the tree’s energy into producing high-quality fruit rather than excessive foliage.
- Maintaining Tree Health: Removing dead, diseased, or damaged branches prevents the spread of disease and allows more air and sunlight to penetrate the tree’s canopy, reducing the risk of fungal infections.
- Shaping the Tree: Pruning helps to maintain the tree’s structure, making it easier to harvest olives and ensuring the tree’s longevity.
- Controlling Tree Size: Regular pruning prevents the tree from becoming too large, which can make maintenance and harvesting difficult.
Pruning is not just about cutting away; it’s about making thoughtful decisions that will benefit the tree in the long run. With that in mind, let’s explore the step-by-step process of pruning olive trees.
When to Prune Olive Trees
Timing is crucial when it comes to pruning olive trees. The best time to prune is during the late winter or early spring, just before the growing season begins. At this time, the tree is dormant, and pruning will cause less stress to the plant. In regions with mild winters, pruning can be done as early as late January, while in colder climates, it’s better to wait until late February or March.
Avoid pruning during the summer months when the tree is actively growing, as this can lead to excessive sap loss and reduce fruit production. Additionally, pruning in the fall is not recommended because it can stimulate new growth that may not harden before the onset of winter, leading to frost damage.
Tools You’ll Need
Before you start pruning, it’s important to have the right tools on hand. Using the correct tools will make the job easier and help ensure clean cuts, which are essential for the tree’s healing process. Here’s what you’ll need:
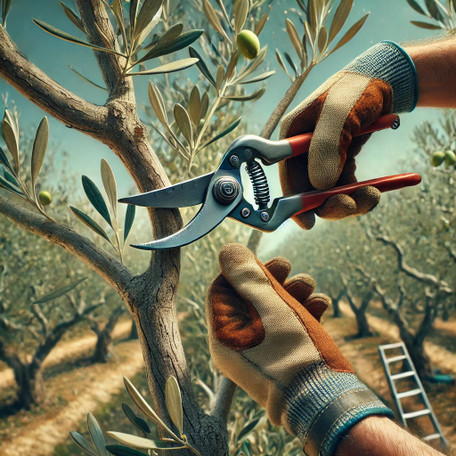
- Hand Pruners: For small branches up to 1/2 inch in diameter, use hand pruners. Make sure they are sharp and clean to avoid crushing the branches.
- Loppers: For branches that are 1/2 inch to 1 1/2 inches in diameter, loppers provide the necessary leverage to make clean cuts. Opt for bypass loppers, which work like scissors, making a cleaner cut than anvil loppers.
- Pruning Saw: For branches thicker than 1 1/2 inches, a pruning saw is essential. A curved blade pruning saw is particularly useful for making precise cuts on larger branches.
- Pole Pruner: If you need to reach higher branches, a pole pruner with an extendable handle will allow you to do so without the need for a ladder.
- Protective Gear: Wear gloves to protect your hands from thorns and splinters, and safety glasses to shield your eyes from debris.
- Disinfectant: It’s important to disinfect your tools before and after pruning, especially if you’re working with multiple trees. This prevents the spread of disease. A solution of one part bleach to nine parts water works well.
Step-by-Step Pruning Process
Step 1: Assess the Tree
Before making any cuts, take a few moments to assess the overall structure and health of the tree. Walk around the tree and observe its shape, looking for any dead, diseased, or damaged branches that need to be removed. Identify the main branches, also known as scaffolds, that form the tree’s framework.
Your goal is to maintain a balanced structure with an open canopy that allows light and air to penetrate. This open structure is crucial for fruit production and helps prevent the buildup of moisture that can lead to disease.
Step 2: Remove Dead, Diseased, and Damaged Branches
The first cuts you should make are to remove any dead, diseased, or damaged branches. These branches are not only unproductive, but they can also harbor pests and diseases that can spread to healthy parts of the tree.
- Dead Branches: These branches are often brittle and have no green tissue when cut. They may also have a gray or brown appearance.
- Diseased Branches: Look for signs of disease, such as discoloration, cankers, or unusual growths. If you suspect a branch is diseased, cut it back to healthy wood, making sure to disinfect your tools afterward.
- Damaged Branches: Branches that are broken or have been weakened by wind, animals, or other factors should be removed to prevent further injury to the tree.
When removing these branches, make your cuts just outside the branch collar (the swollen area where the branch meets the trunk or a larger branch). This allows the tree to heal properly and minimizes the risk of infection.
Step 3: Thin the Canopy
Once you’ve removed the dead, diseased, and damaged wood, the next step is to thin the canopy. Thinning involves selectively removing some of the branches to increase light penetration and air circulation within the tree.
Focus on removing branches that are:
- Crossing or Rubbing: Branches that cross or rub against each other can cause wounds that are susceptible to infection. Remove one of the crossing branches to prevent this.
- Growing Inward: Branches that grow toward the center of the tree reduce air circulation and light penetration. These branches should be removed to maintain an open canopy.
- Weak or Spindly: Thin out any weak or spindly branches that are unlikely to support fruit. This allows the tree to direct its energy to stronger, more productive branches.
When thinning, aim to remove about 10-20% of the tree’s canopy. This creates a balanced structure with an open center, often referred to as a vase or goblet shape, which is ideal for olive trees.
Step 4: Shape the Tree
After thinning, you can begin shaping the tree to maintain its desired form. Olive trees are typically pruned to have a central leader (a single main trunk) or a more open, vase-shaped structure. The choice of shape depends on your preference and the tree’s natural growth habit.
- Central Leader: If you prefer a tree with a single main trunk, remove any competing leaders and prune the remaining leader to encourage vertical growth. This shape is often used in orchards where trees are closely spaced.
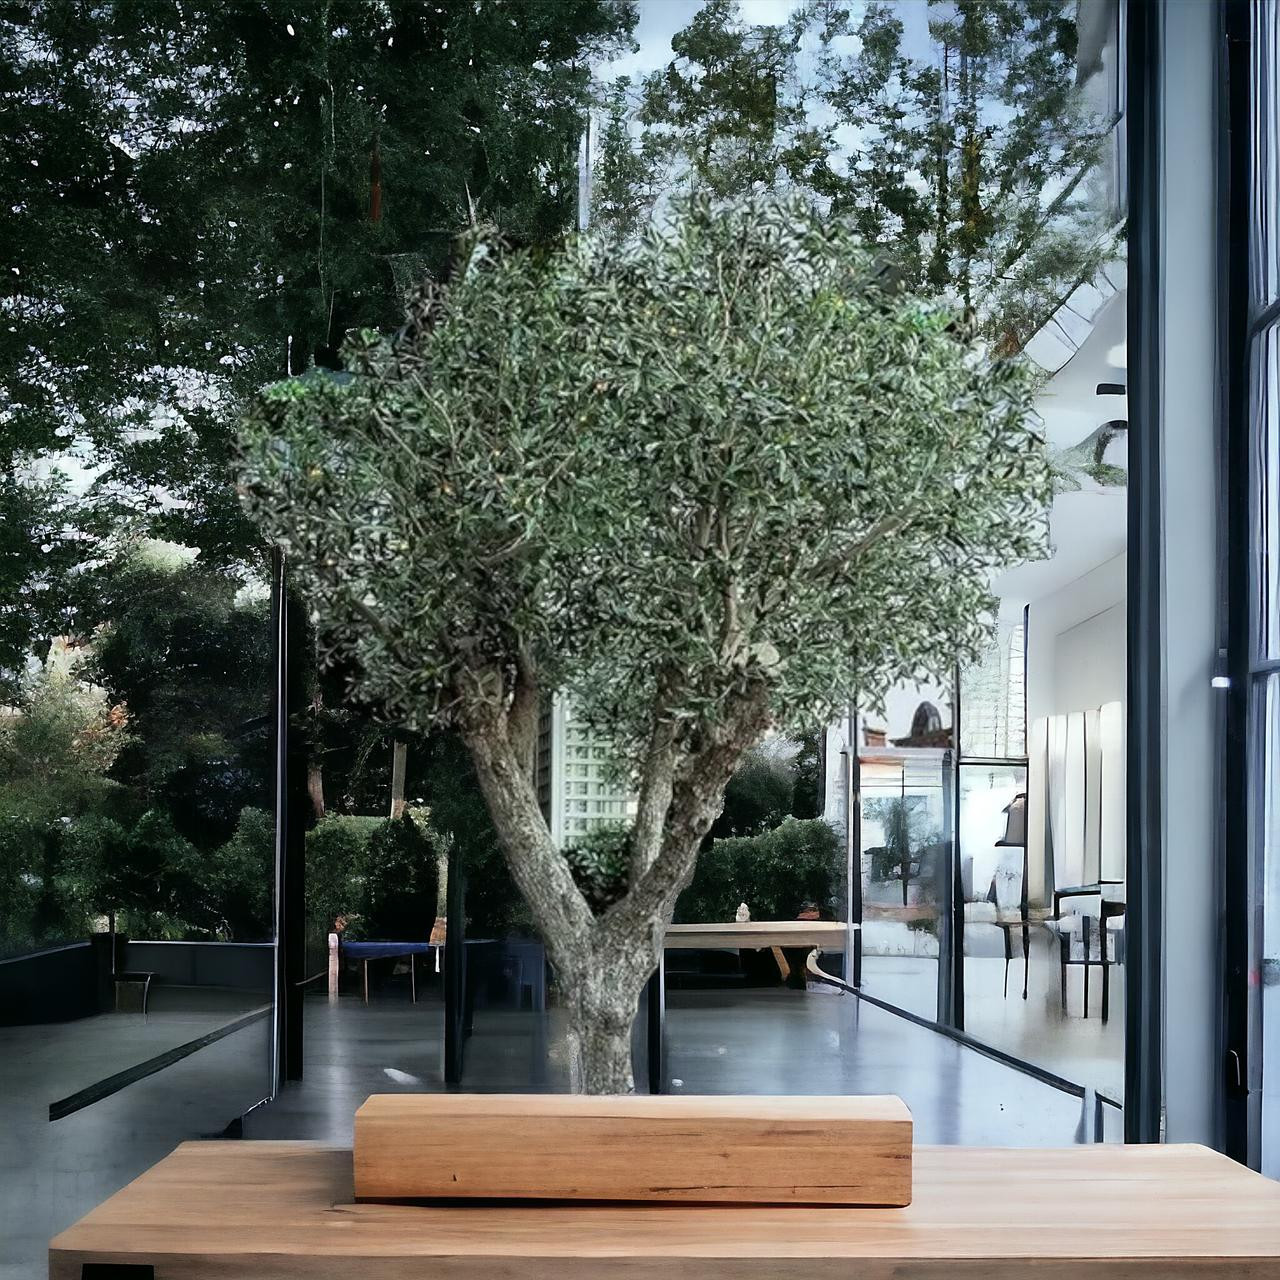
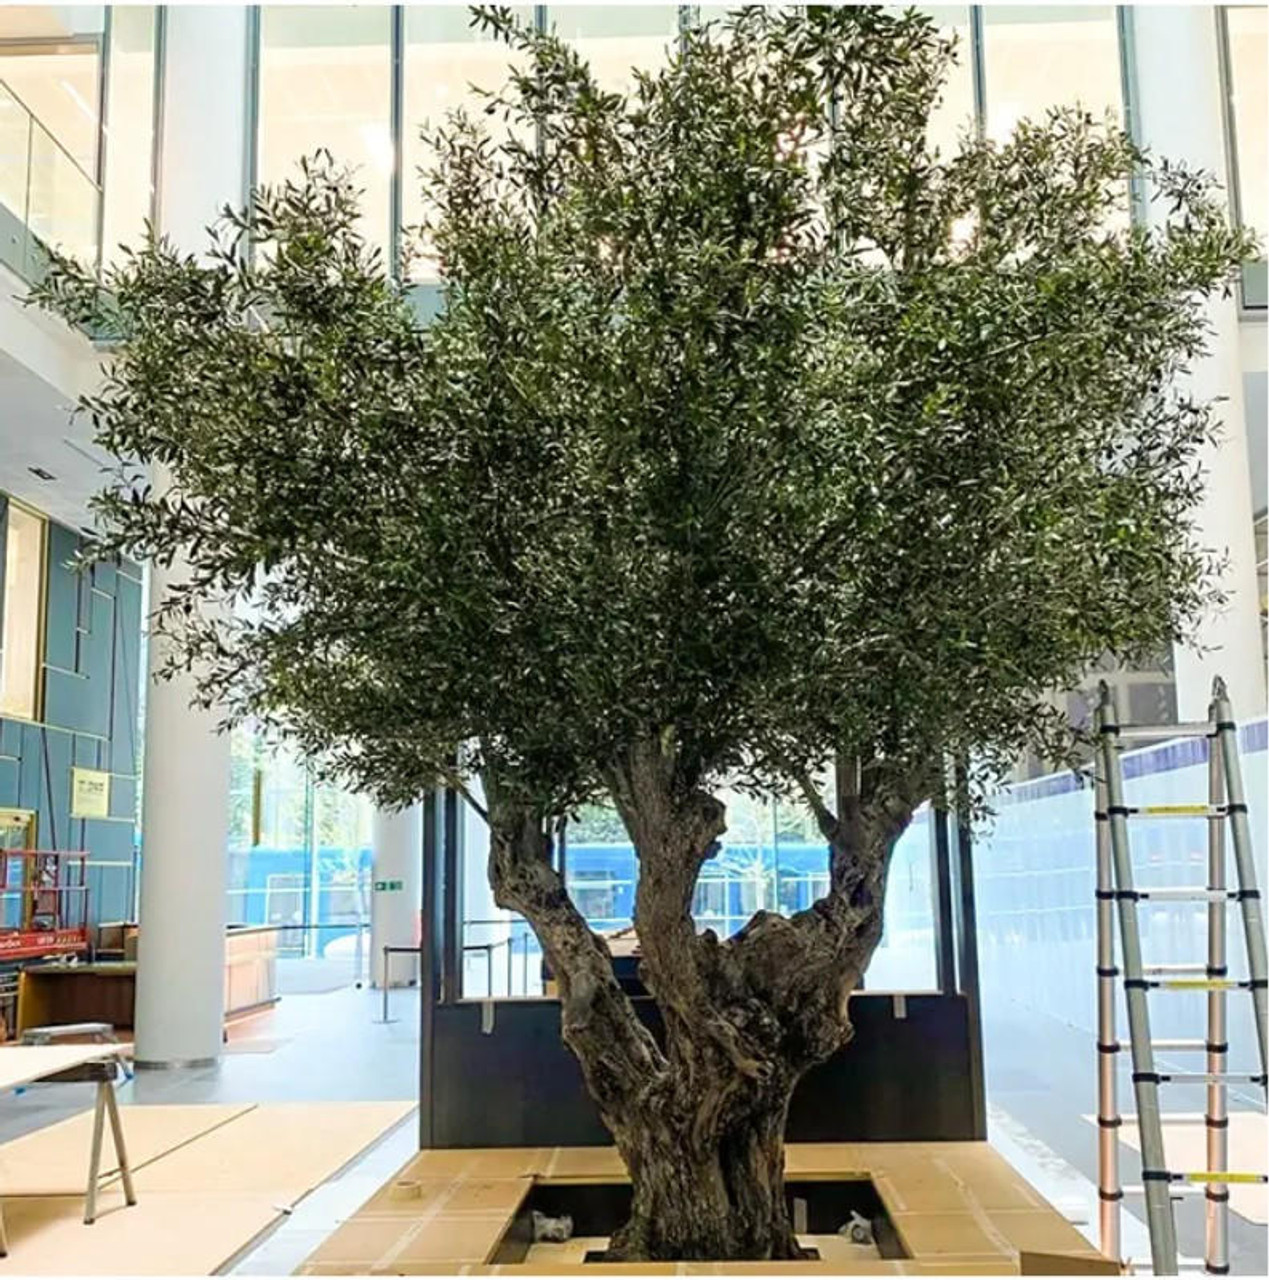
- Vase Shape: For a more traditional olive tree shape, prune to create an open center with multiple scaffold branches extending outward. This allows for maximum light exposure and air circulation, which is particularly important in regions with high humidity.
When shaping the tree, make sure to maintain a balance between the different scaffold branches. Remove any branches that are growing too close together or that dominate the tree’s structure. The goal is to create a tree that is both aesthetically pleasing and productive.
Step 5: Prune for Fruit Production
Now that you’ve thinned and shaped the tree, it’s time to focus on pruning for fruit production. Olive trees produce fruit on one-year-old wood, so it’s important to encourage the growth of new shoots while maintaining older, productive branches.
- Remove Water Sprouts: Water sprouts are vigorous, vertical shoots that often grow from the base of the tree or along the main branches. While they can produce fruit, they tend to sap energy from the tree and create a dense canopy. Remove most water sprouts, leaving a few that are well-placed and can be trained into productive branches.
- Shorten Fruiting Branches: Shorten the tips of fruiting branches by a third to encourage branching and the development of more fruiting wood. Make your cuts just above a bud that is facing outward to promote the growth of new shoots in the desired direction.
- Encourage New Growth: To stimulate the growth of new shoots, selectively remove some of the older branches that have already produced fruit. This opens up space for new, productive branches to develop.
When pruning for fruit production, aim for a balance between old and new wood. Too much old wood can lead to reduced fruit yields, while too much new wood can make the tree overly vigorous and difficult to manage.
Step 6: Clean Up
After you’ve finished pruning, take the time to clean up the area around the tree. Remove all pruned branches and debris from the ground, as this can attract pests and diseases. If any of the removed branches were diseased, dispose of them properly by burning or disposing of them in a way that prevents the spread of disease.
Inspect the tree one last time to ensure that all cuts are clean and that the tree’s structure is balanced. Pruning can be an ongoing process, so don’t hesitate to make additional cuts if necessary to achieve the desired result.
Step 7: Post-Pruning Care
Pruning can be stressful for olive trees, so it’s important to provide proper care after pruning to help the tree recover and thrive.
- Watering: Ensure the tree receives adequate water, especially if pruning was done during a dry period. Olive trees are drought-tolerant, but they benefit from deep watering during the growing season.
- Fertilization: After pruning, consider applying a balanced fertilizer to support new growth. Avoid excessive nitrogen, which can promote vigorous vegetative growth at the expense of fruit production.
- Monitoring: Keep an eye on the tree in the weeks following pruning. Look for any signs of stress, such as wilting or yellowing leaves, and adjust your care routine as needed.
Common Pruning Mistakes to Avoid
Even experienced gardeners can make mistakes when pruning olive trees. Here are some common pitfalls to watch out for:
- Over-Pruning: Removing too much of the tree’s canopy can weaken the tree and reduce fruit production. Always aim for a balanced approach, removing no more than 20-30% of the canopy in a single year.
- Improper Cuts: Avoid making flush cuts (cuts that are too close to the trunk) or leaving stubs (cuts that are too far from the trunk). Both can lead to poor healing and increase the risk of disease.
- Pruning at the Wrong Time: As mentioned earlier, pruning during the growing season or late in the fall can cause stress and damage to the tree. Stick to late winter or early spring for the best results.
- Ignoring Tree Structure: Pruning without considering the tree’s natural structure can lead to an unbalanced, weak tree. Always prune with the tree’s shape and health in mind.
Conclusion
Pruning olive trees is a rewarding task that requires a thoughtful and measured approach. By following the steps outlined in this guide, you can help your olive trees thrive, ensuring they remain healthy and productive for years to come. Remember, the key to successful pruning is balance—removing enough to encourage growth and fruit production, but not so much that the tree is weakened.
As you gain experience, you’ll develop a deeper understanding of your olive trees and their unique needs. With time and practice, pruning will become second nature, allowing you to enjoy the beauty and bounty of these ancient and revered trees. Happy pruning!


